Edit the physical layout of panels, strings, and inverters in the Plant Map editor.
Estimated time: 4~5min · Last updated: 2026-03-21
How to
When new panels or inverters have been installed and the layout needs updating
Starting state: You are logged in to PATCH, The dashboard screen is open, You have an account with edit permissions
Click the vertical three-dot menu at the upper right of the dashboard. Select Edit from the dropdown.
When the Plant Map editor opens, select the layer to edit (strings, inverters, junction boxes, etc.) from the layer panel on the left.
Select a tool from the bottom toolbar. Tools include: Select (move/relations), Panel group, Inverter placement, Edge (connection lines), Junction box, Stick placement; after the separator: Text, Rectangle, and Image insertion tools. Click Save at the top right when done.
When the layout is complete, click Save at the upper right. The editor closes and the updated layout appears on the dashboard.
Expected result
After saving, the Plant Map on the dashboard shows the updated arrangement. Panels and inverters are positioned according to their real-world locations.
If it does not work
If the edit menu does not appear, click the three-dot button at the upper right of the dashboard again.
If the layout is not reflected after saving, switch the dashboard type to plantmap to see the result.
Step-by-step screenshots
Follow the red-numbered hotspots in the images below alongside the steps above.
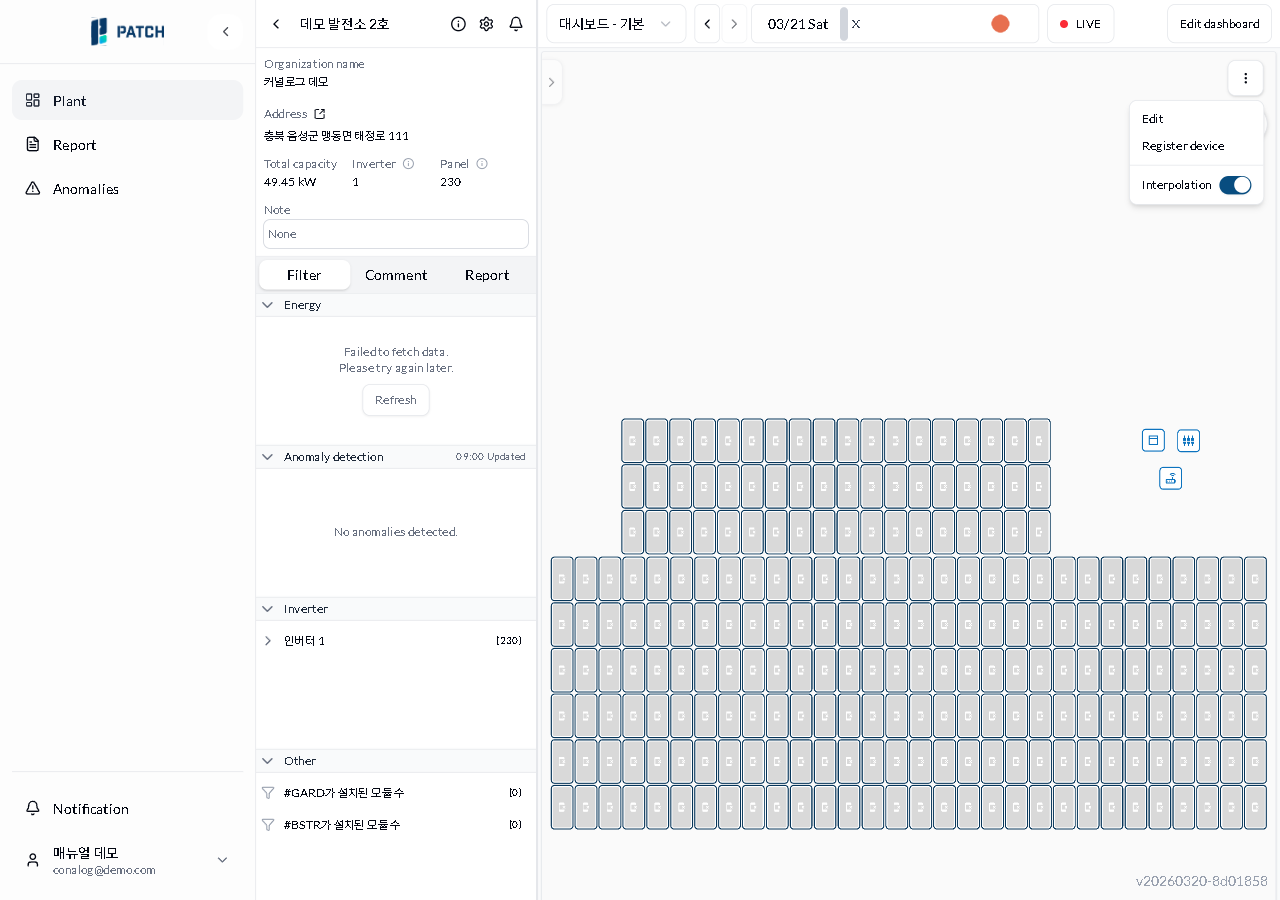
1. Click the vertical three-dot menu at the upper right of the dashboard. Select Edit from the dropdown.
1
대시보드 점 세 개 메뉴
Dashboard dot menu open — Edit, Device Registration, Interpolation Mode (three items)
Dot menu popup — Edit, Device Registration, Interpolation Mode (toggle). Click Edit to open the Plant Map editor.
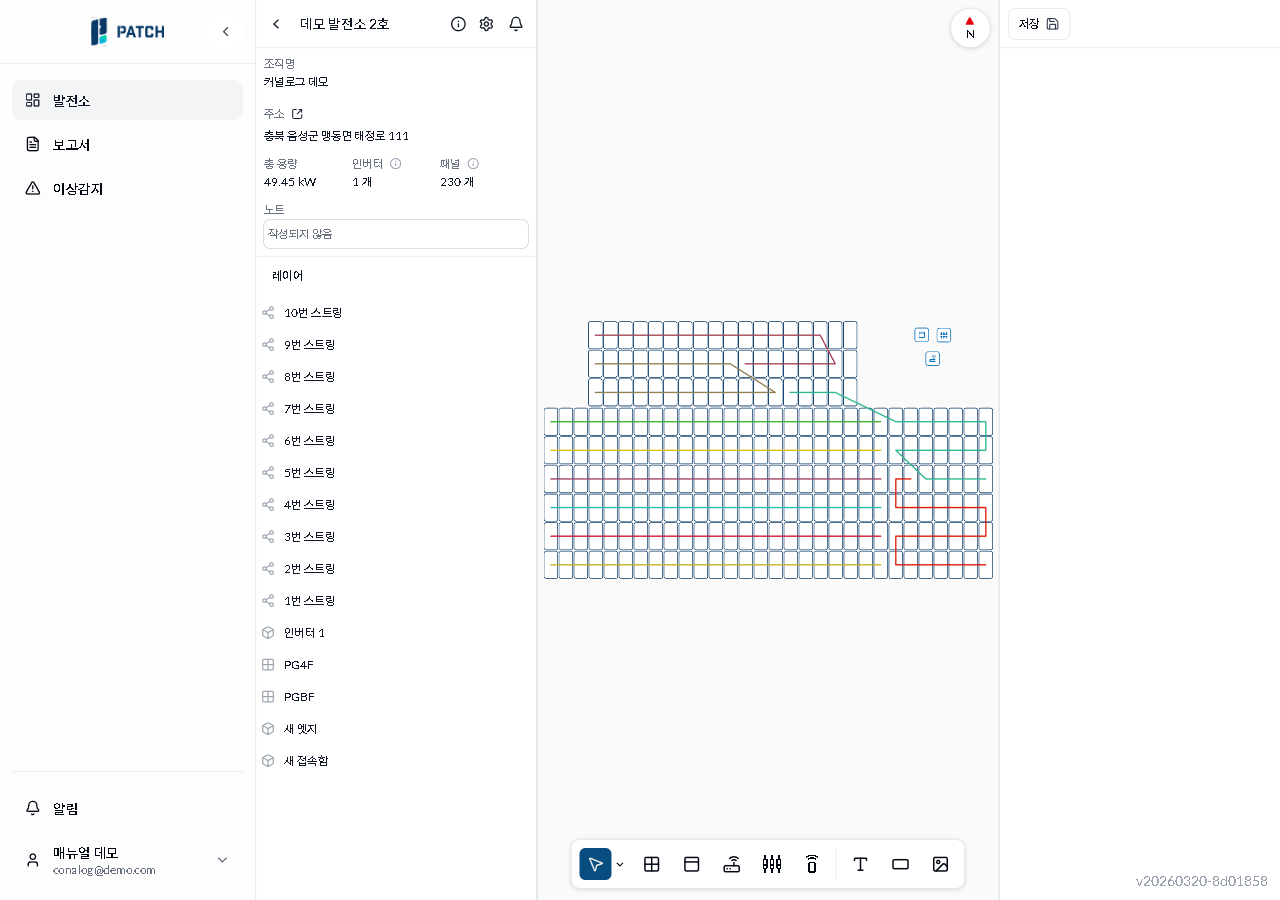
2. When the Plant Map editor opens, select the layer to edit (strings, inverters, junction boxes, etc.) from the layer panel on the left.
Layer panel — strings (1–10), inverter, PG4F/PGBF, new edge/junction box, etc. Select a layer to edit.
3. Select a tool from the bottom toolbar. Tools include: Select (move/relations), Panel group, Inverter placement, Edge (connection lines), Junction box, Stick placement; after the separator: Text, Rectangle, and Image insertion tools. Click Save at the top right when done.